90DaysOfDevops-Day11

Day 11 Task: Advance Git & GitHub for DevOps Engineers: Part-2
Introduction
Welcome DevOps enthusiasts. In this blog we're gonna learn more about advanced but less common Git commands. From Git Stash to cherry picking to Resolving Merge Conflicts, this blog got you covered. We'll understand these in the simplest of ways followed by hands on practice by the end to fortify your concepts. So without any further delay, lets learn.
Git Stash
What is git stash?
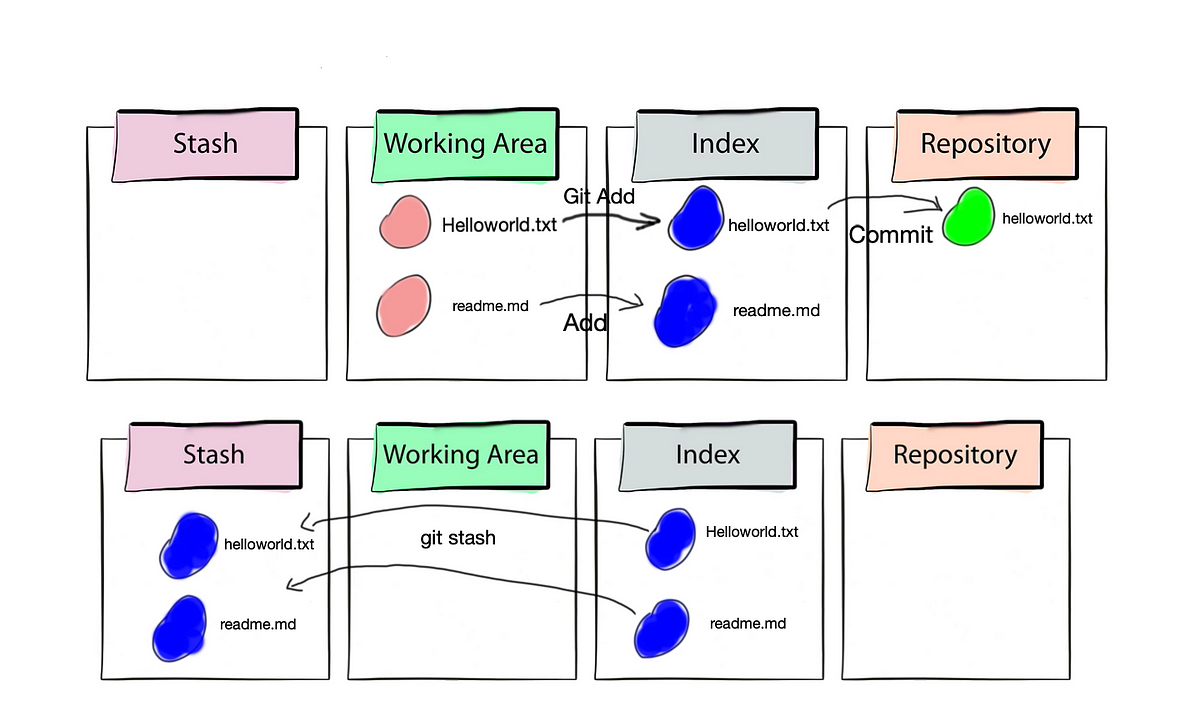
Git stash is a command that is used to temporarily shelf a changes you made, work on other changes and then come back to it later on. It is used when you want to switch branches or work on a different task without committing the current changes that you made.
Basically Git Stash preserves your changes before commit, without worrying about losing your progress, in case there's a call for another task to be done ASAP.
Use Case
Suppose, you're working on a feature for your project and suddenly your boss orders you to fix a bug on the production line ASAP.
Now, you've made some changes to your code, but they're not quite ready to be committed yet. You don't want to lose your progress, but you also need to switch over to the main branch ASAP to help out.
This is where Git stash comes to your rescue. Using git stash command you stash away your current changes, like putting them in a little box for safekeeping. And now you're fee to fix the bug without worrying to loose your progress on the feature.
Commands
Stashing or Removing from working directory
git stashGetting the changes back in the area
git stash popList all the stashes
git stash listTo see contents of a stash
git stash show stash@{n}where,
git stash show: command for showing content
stash@{n}: Specifies which stash you want to inspect. The
{n}represents the index of the stash, where0is the most recent stash,1is the one before that, and so on.
Cherry Pick
What is cherry-pick ?
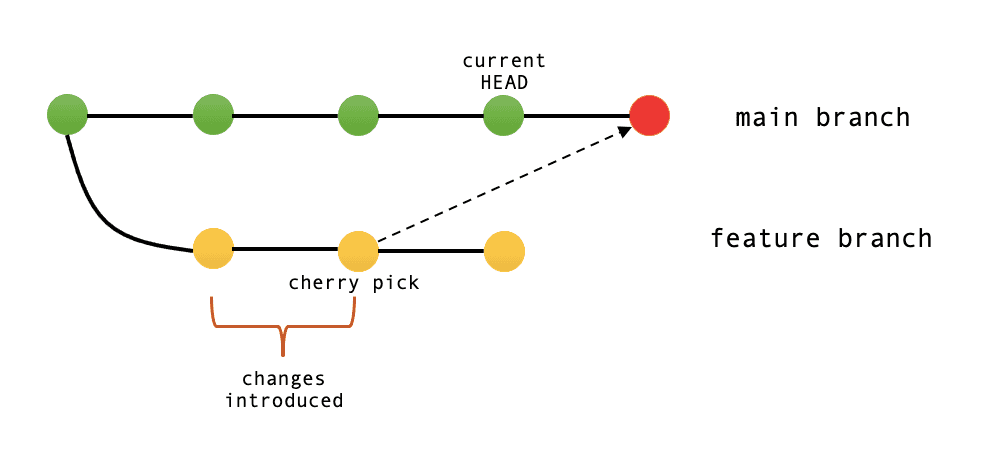
cherry-pick is the command used for merging a specific commit into the line of development. As the name suggests it points to a specific commit using the hashcode and then get it merged into the main/master branch.
When you're working on different branches in Git, sometimes you come across a commit on one branch that you just have to have on another branch—maybe it's a fix or a feature that's exactly what you need. That's where git cherry-pick comes in!
It's like picking up the juiciest cherry from a box.
Use Cases:
Debugging in Branches: Imagine you have two branches, development and debugging. You fixed a critical bug in the bug fix branch, and now you need to apply that fix on your development branch without all the other changes. Cherry picking a commit that contains a bug fix allows you to select only that fix together in development with no changes other than the bug fix.
Feature Backporting: Let’s say you were working on a new feature in the feature branch, feature-x, but realize that you need this feature immediately in your stable production branch, master Instead of merging the entire feature-x branch made into a master, which may include unfinished work or other changes that are not ready for release, you can cherry-pick specific commit(s) of the complete feature and apply them to master
Selective Code Review: While in code review, you can see your commits to a feature branch that is particularly well written or solves a problem in the most appropriate way.
Undoing changes: If you want to undo changes made by a particular commit on a branch, you can use git cherry-pick to roll back that commit in reverse order to the same branch this this changes caused by that commit very thoroughly, with no errors or unwanted changes affecting the rest of the branch history Provides a targeted approach to handling.
Managing Release Branches: In a project with multiple release branches you may need to ensure that each release branch has specific bug fixes or updates applied, making them independent Cherry-picking to allow commits to be applied in the option selected on each release branch as needed, ensuring that repairs are extended with no unrelated changes
These are a few Use cases of how git cherry-pick can be used to selectively apply commits from one branch to another, providing flexibility and control over the development process.
Commands
To cherry-pick a command
git cherry-pick
Resolving Conflicts
What is a conflict?
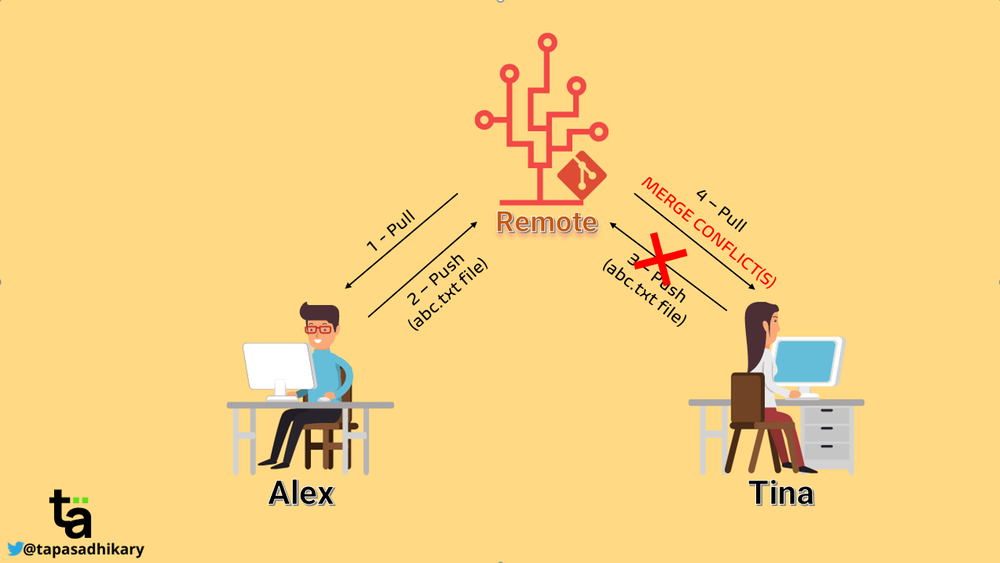
Conflicts can occur when you merge or rebase branches that have diverged, and you need to manually resolve the conflicts before git can proceed with the merge/rebase.
Git status command shows the files that have conflicts.
Git diff command shows the difference between the conflicting versions.
Git add command is used to add the resolved files.

Hands On Practice
Task1
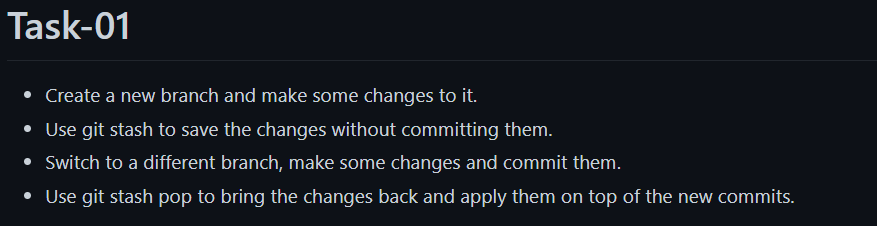
Create a new branch and make some changes to it already created a new branch called feature_branch lets enter in to it and make some changes.
git switch feature_branch
echo "Today just started working on Day 11 Task " >>Day-11.txt


git add Day-11.txt
Use git stash to save the changes without committing them:
git stash

- Switch to a different branch, make some changes, and commit them:
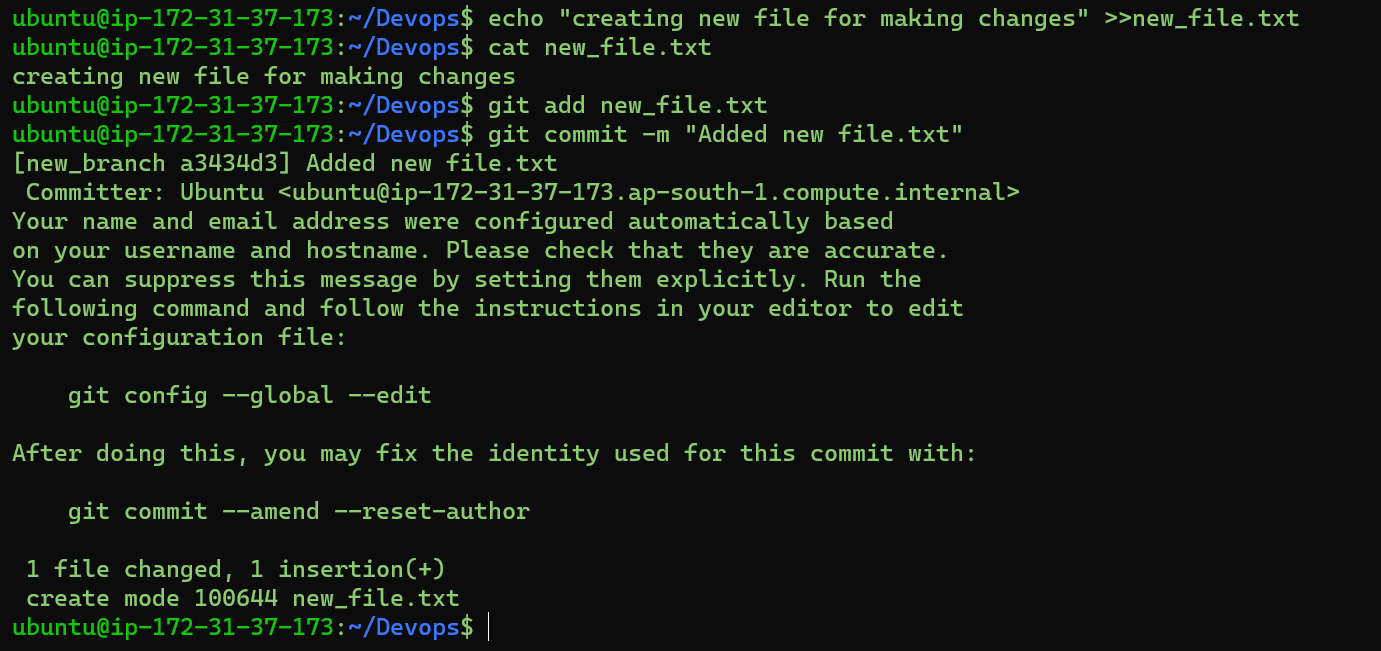
git switch -b new_branch

echo "creating new file for making changes" >>new_file.txt
cat new_file.txt
git add new_file.txt
git commit -m "Added new file.txt"
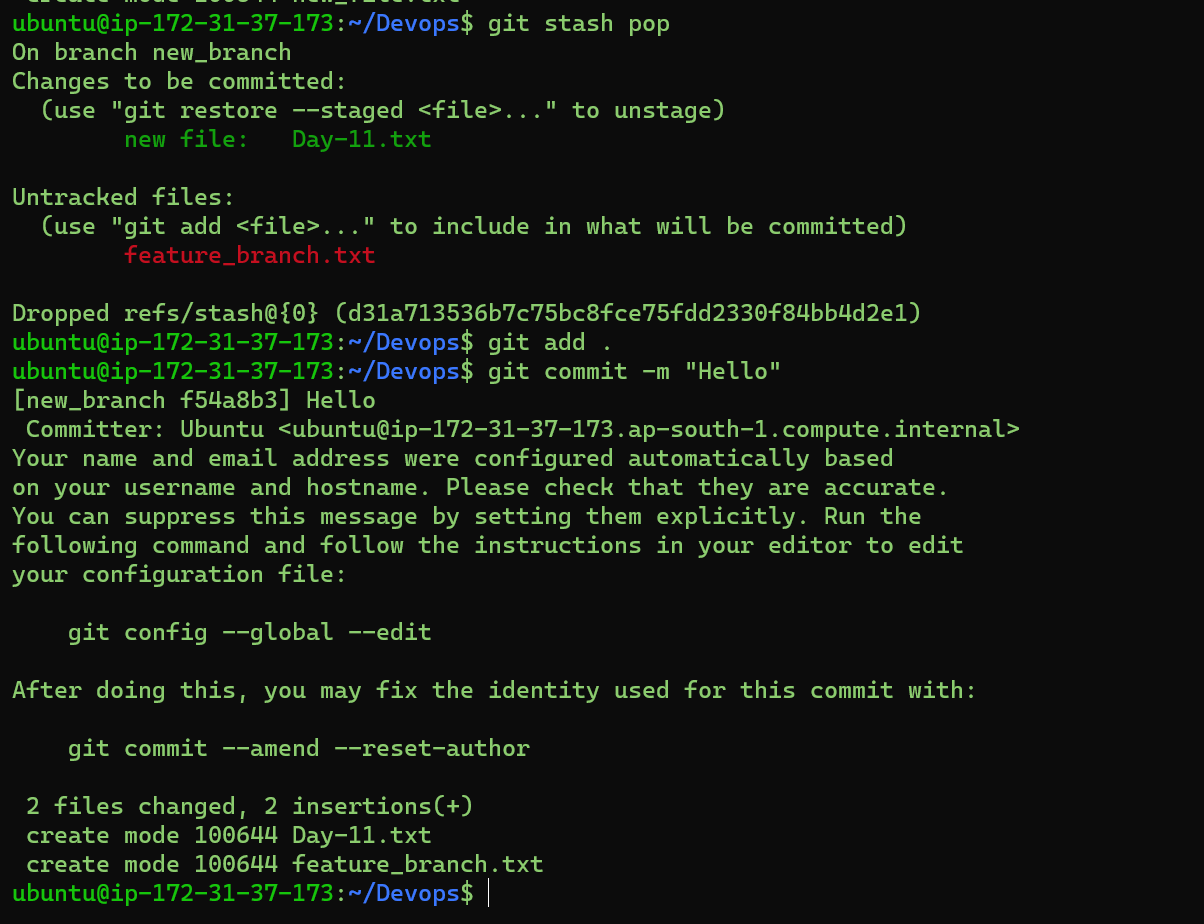
Use git stash pop to bring the changes back and apply them on top of the new commits:
git stash pop
Task2
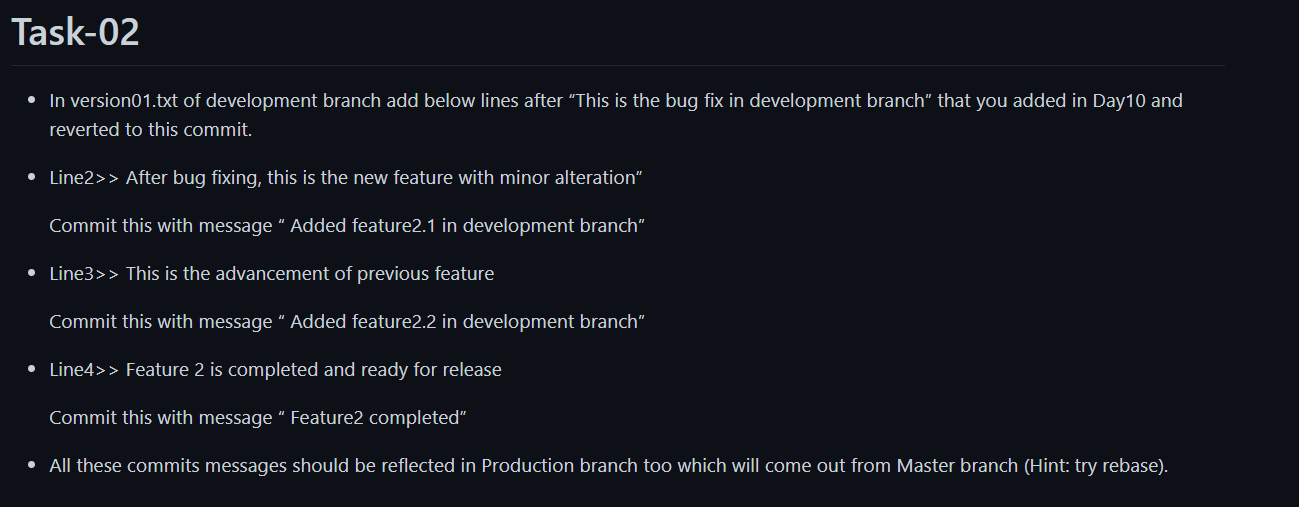
In version01.txtof the development branch, add the specified lines after the existing content:
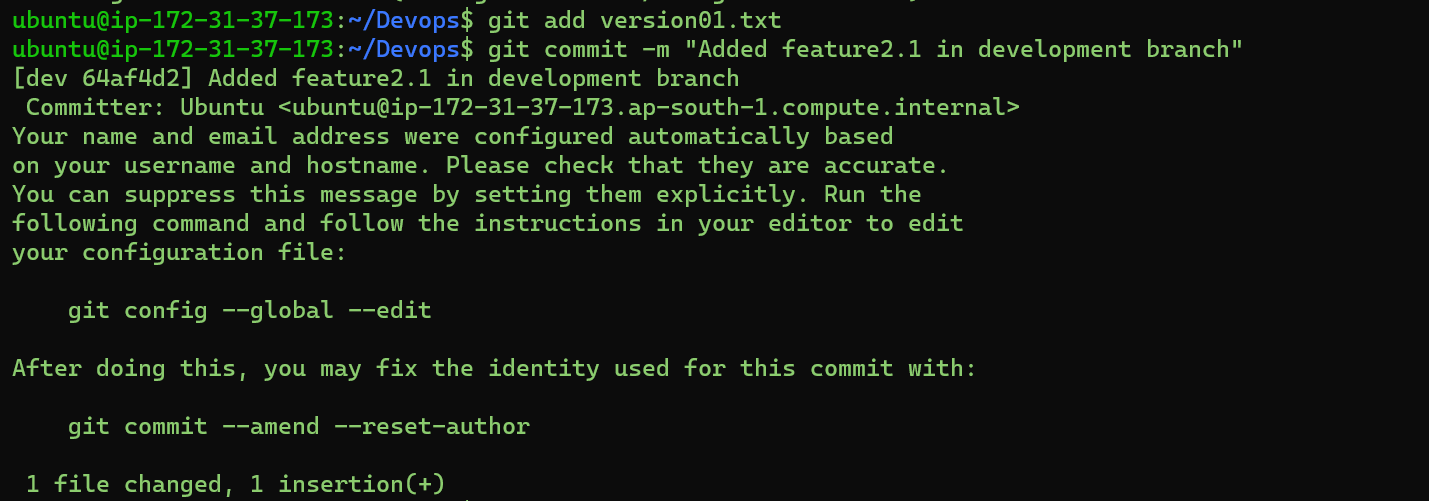
- Now , change the branch to dev to make the commits as given in the task.
git switch dev


echo "After bug fixing, this is the new feature with minor alteration" >> version01.txt
git add version01.txt
git commit -m "Added feature2.1 in development branch"
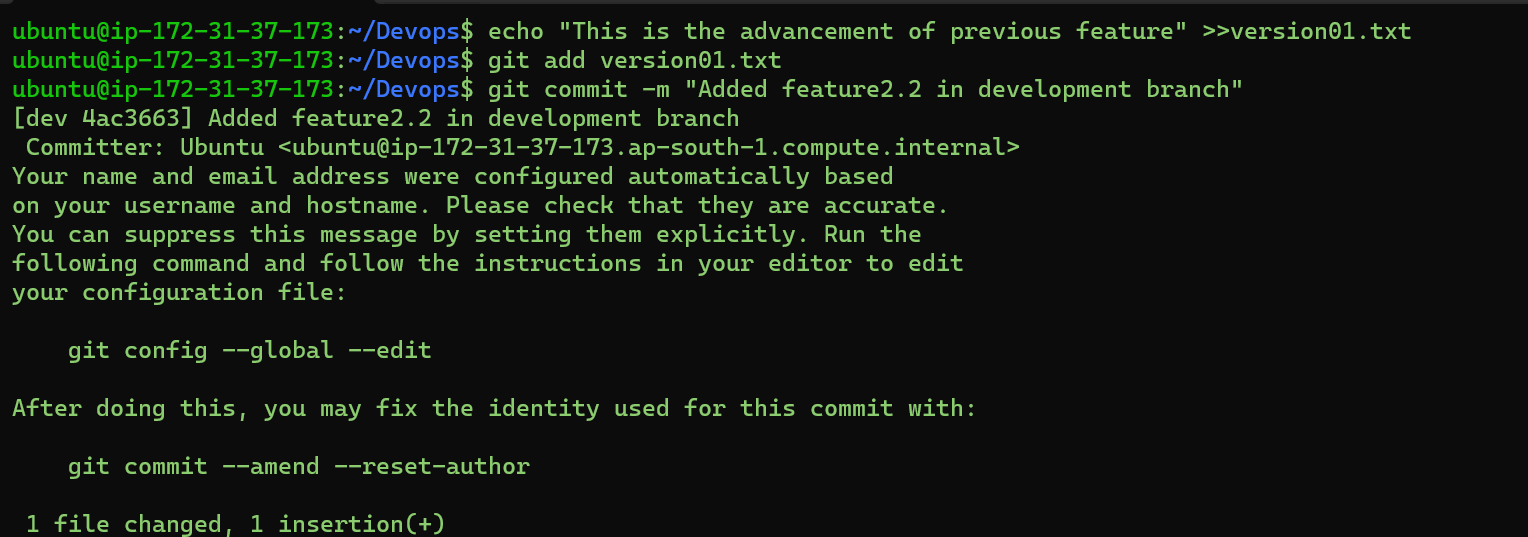
echo "This is the advancement of the previous feature" >> version01.txt
git add version01.txt
git commit -m "Added feature2.2 in development branch"
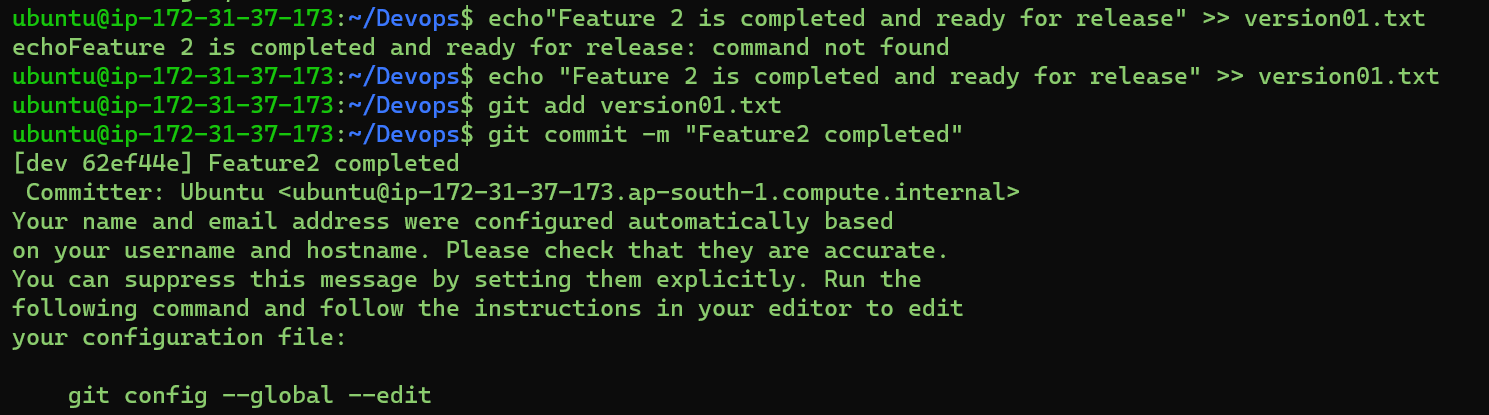
echo "Feature 2 is completed and ready for release" >> version01.txt
git add version01.txt
git log --oneline
git checkout -b production

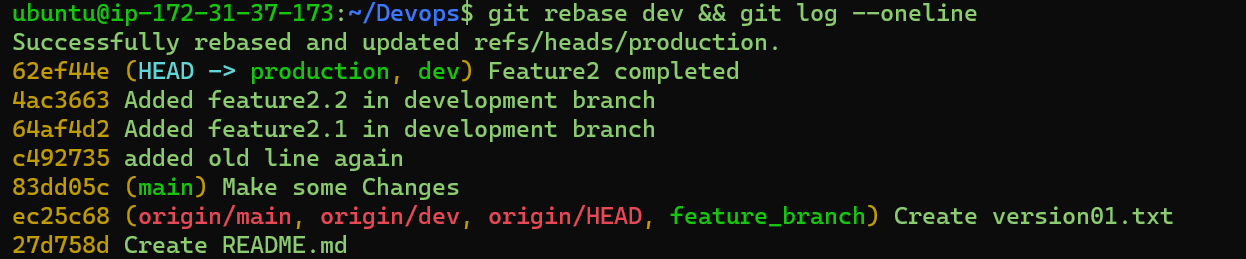
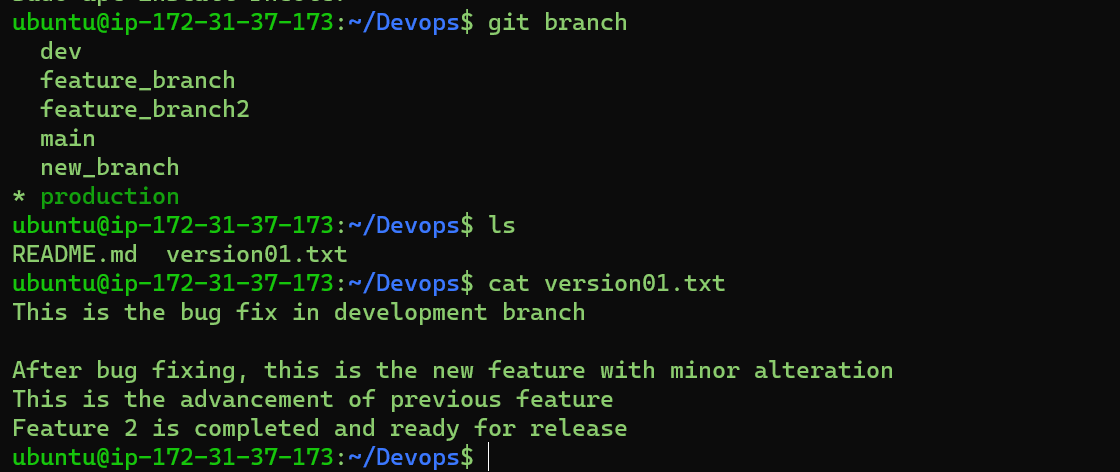
git rebase dev && git log --oneline
Task-03
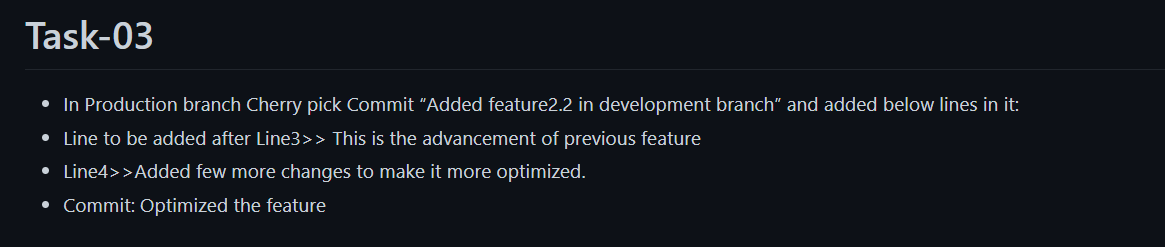
- Cherry pick the commit "Added feature2.2 in development branch" into the Production branch:
git cherry-pick <commit_hash_of_feature2.2>
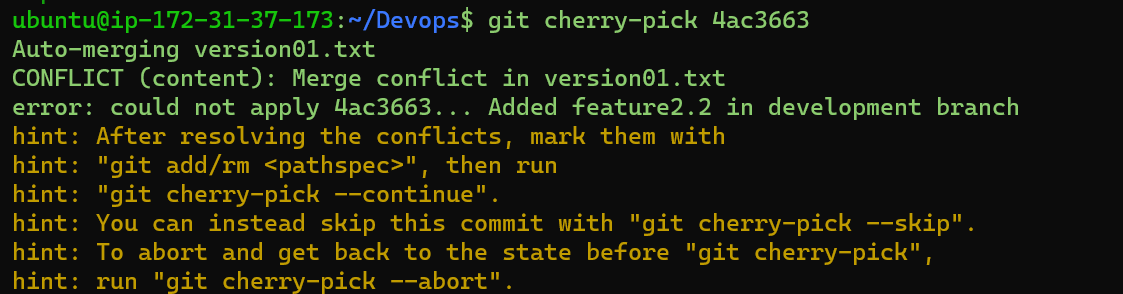
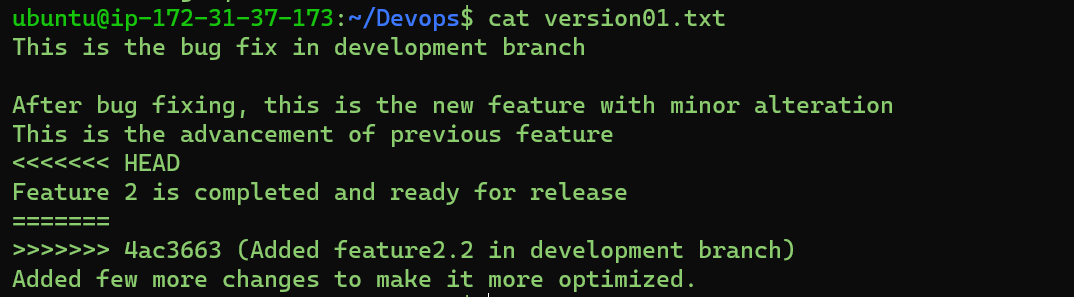
Resolving the error by add the specified lines after "This is the advancement of the previous feature
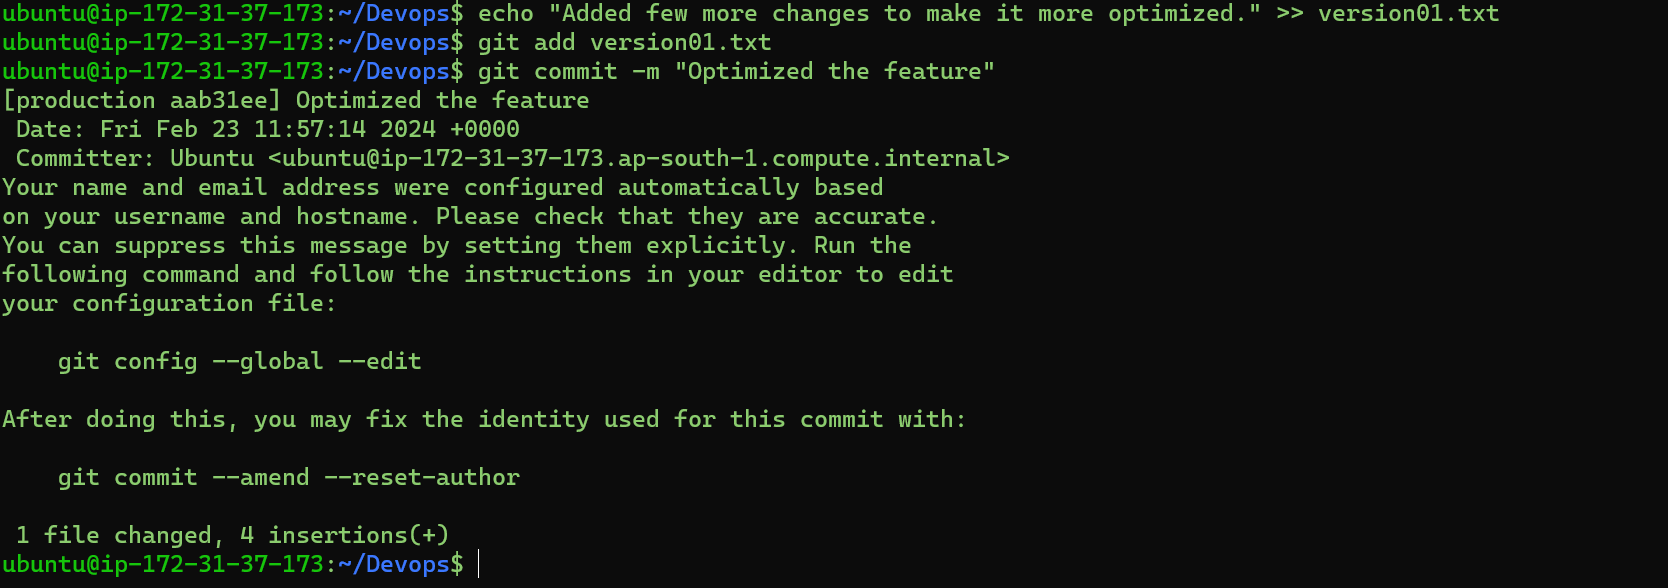
echo "Added few more changes to make it more optimized." >> version01.txt
git add version01.txt
git commit -m "Optimized the feature"
cat version01.txt
Conclusion
So here comes the end of this blog. In summary we covered the major concepts of Git Stash, Cherry-Picking and resolving conflict. Along with that the hands on practice section acted as a cherry on the cake making our concepts even more fun and robust.
Believe you can and you're halfway there. - Theodore Roosevelt
Happy Learning.